Home Made Crema Catalana
I’ve always loved Creme Brulee for any part of the day – dessert, snack with coffee/tea, and sometimes, even breakfast! I use to buy the pre-made ones, where you pour some sugar on top and burn the sugar with a torch. Then, recently, I started ordering them for dessert at restaurants, and realized it’s just not the same!! It’s suppose to be creamier and lighter and more “mousse” like than “pudding” like. So, I found a simple recipe which is slightly modified from Anna Olson’s show “Bake With Anna Olson” on Food Network.
Ingredients: (Serves 2)
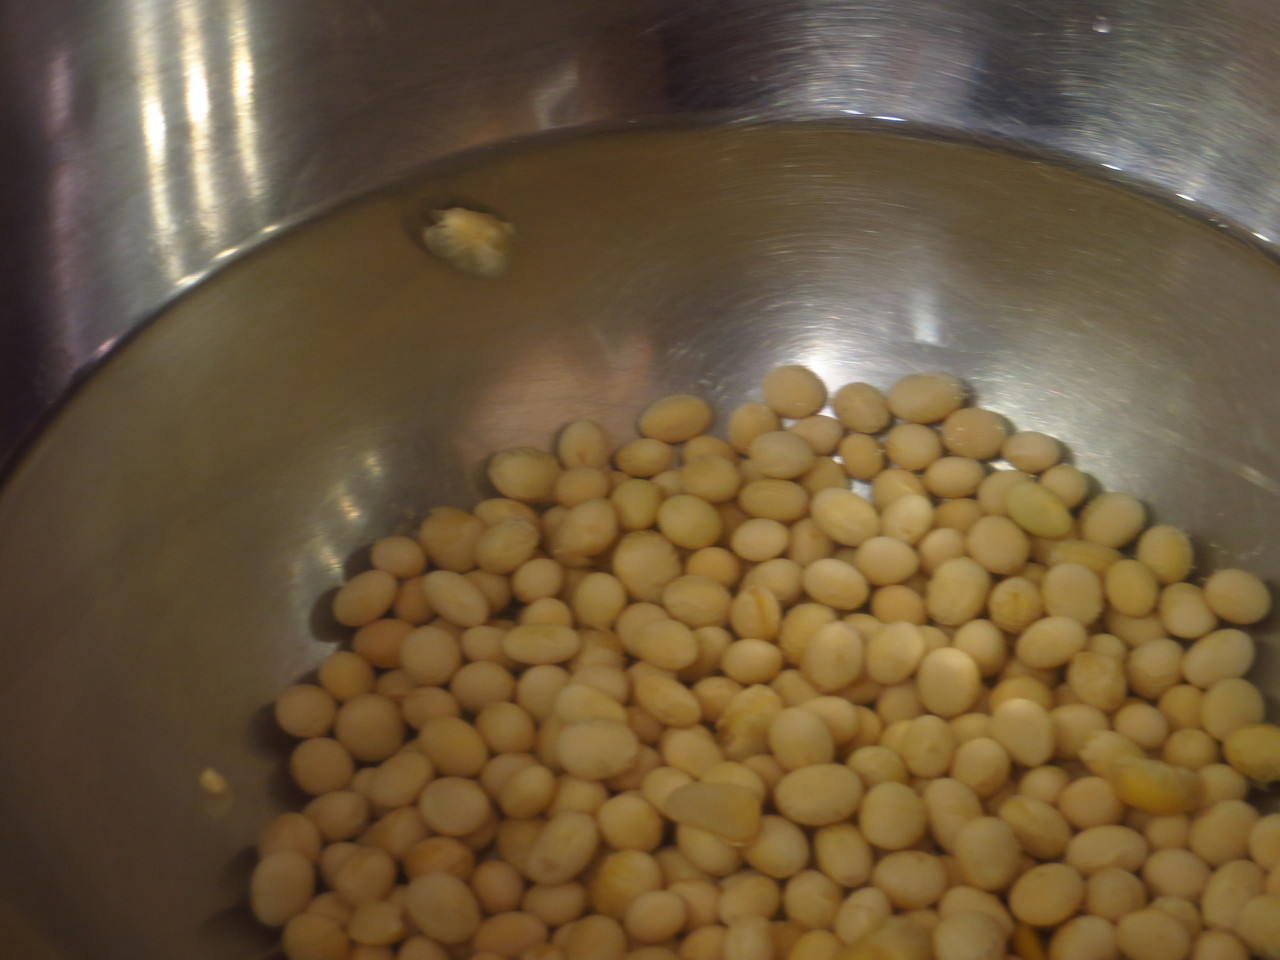
1 cup cream
1 tbsp of vanilla paste
2 egg yolks
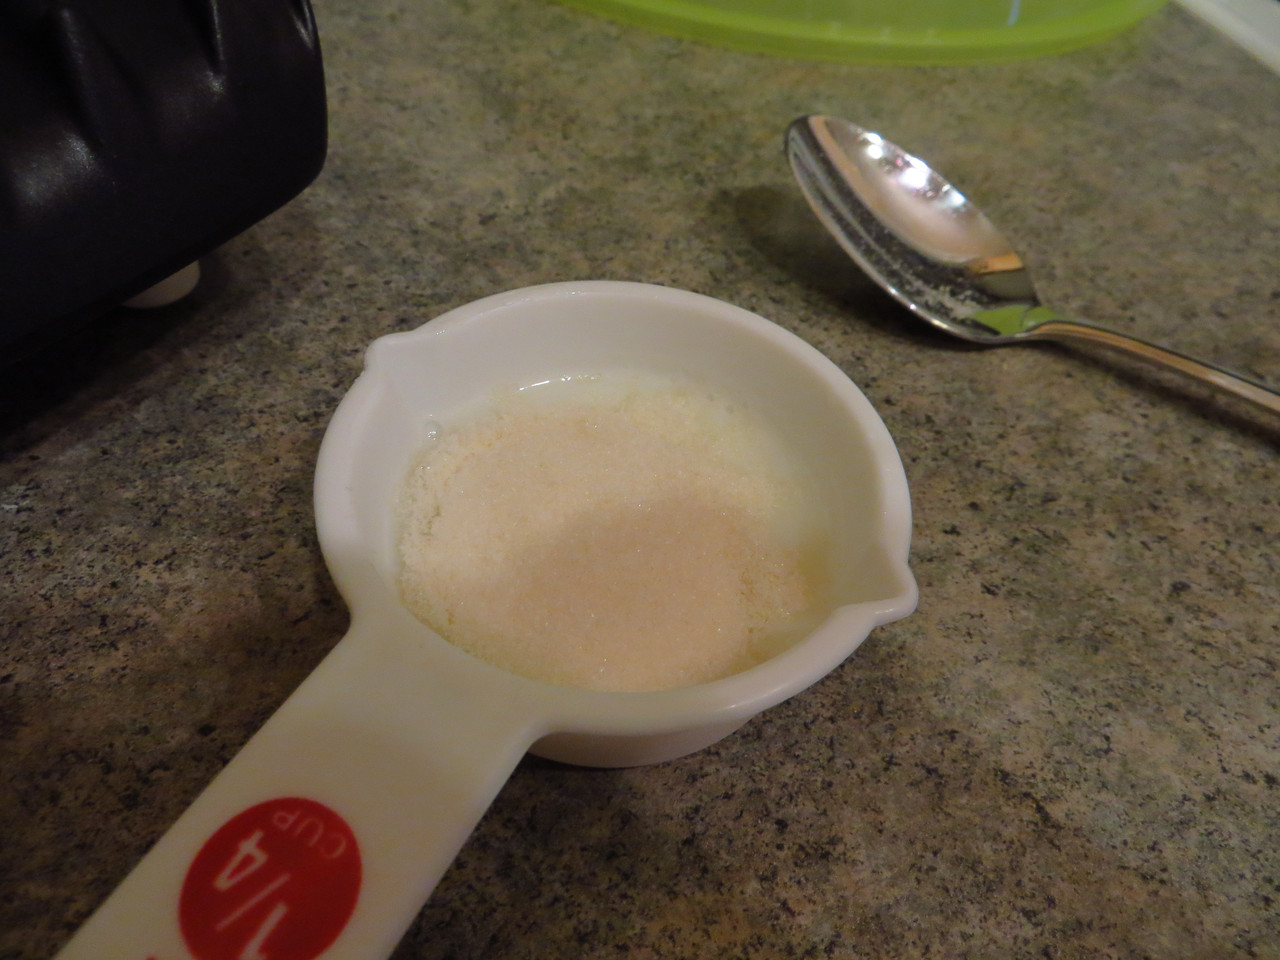
1/4 cup sugar
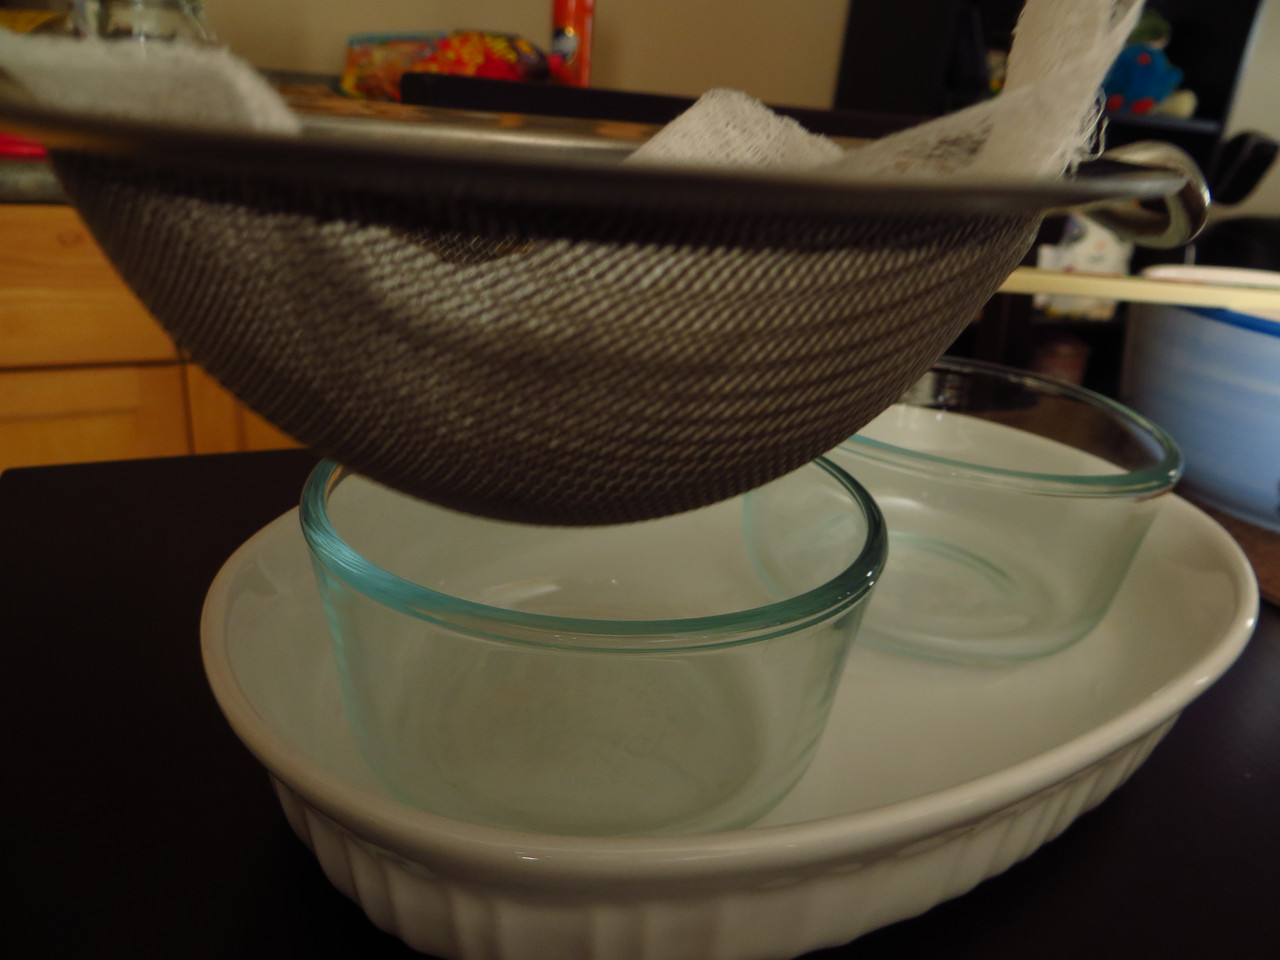
First, preheat the oven to 325F, and place some ramekins in a heat safe pan with sides – so we can give the creme brulees a water bath when we’re ready to bake. Also, set a strainer with cheese cloth on stand-by as we will use them!
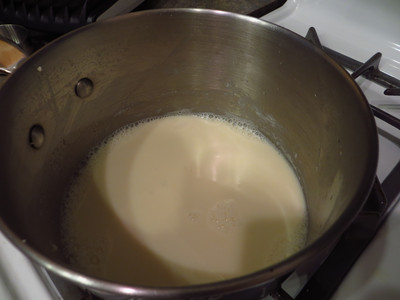
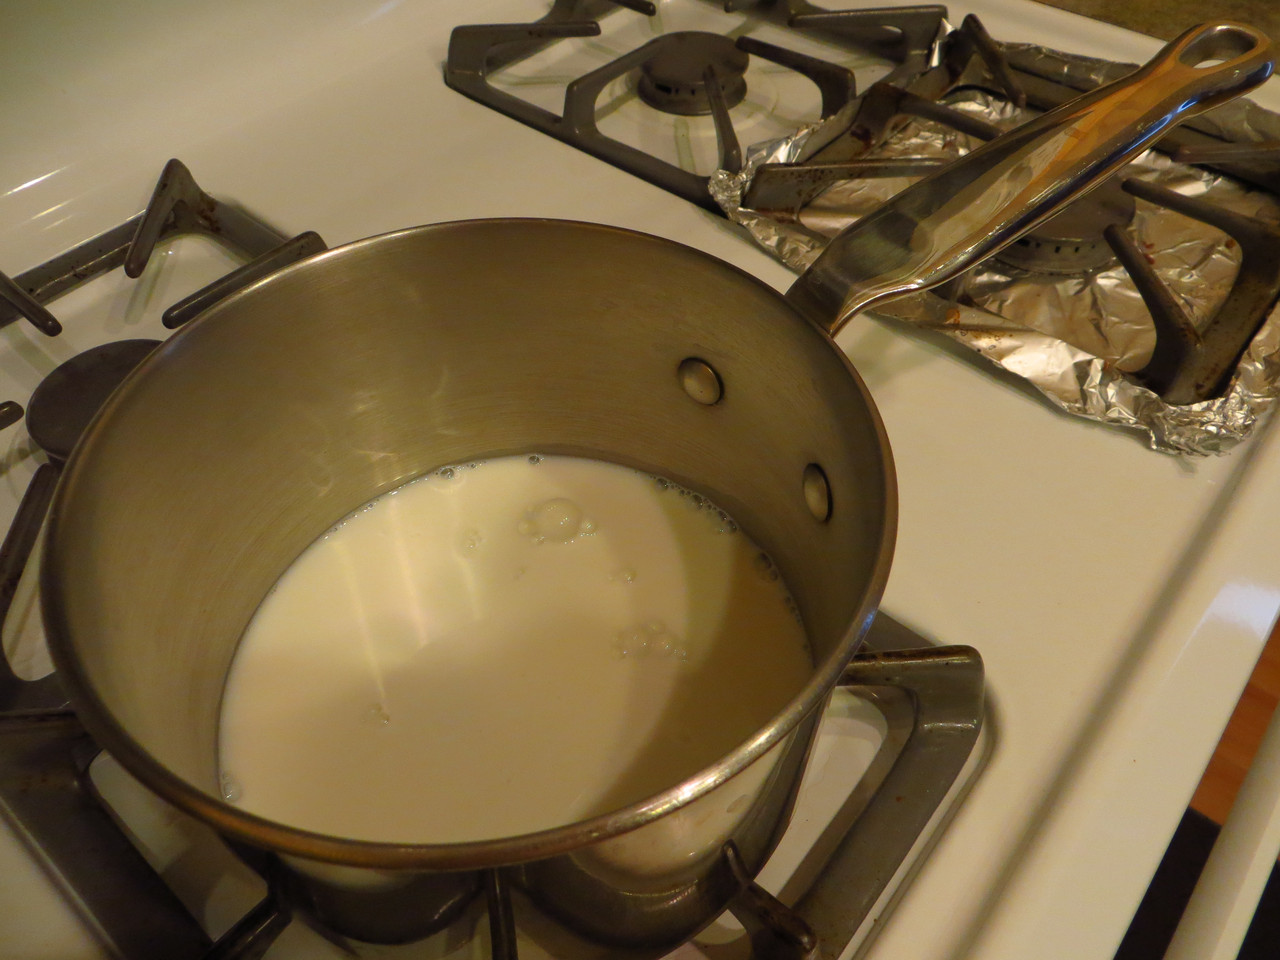
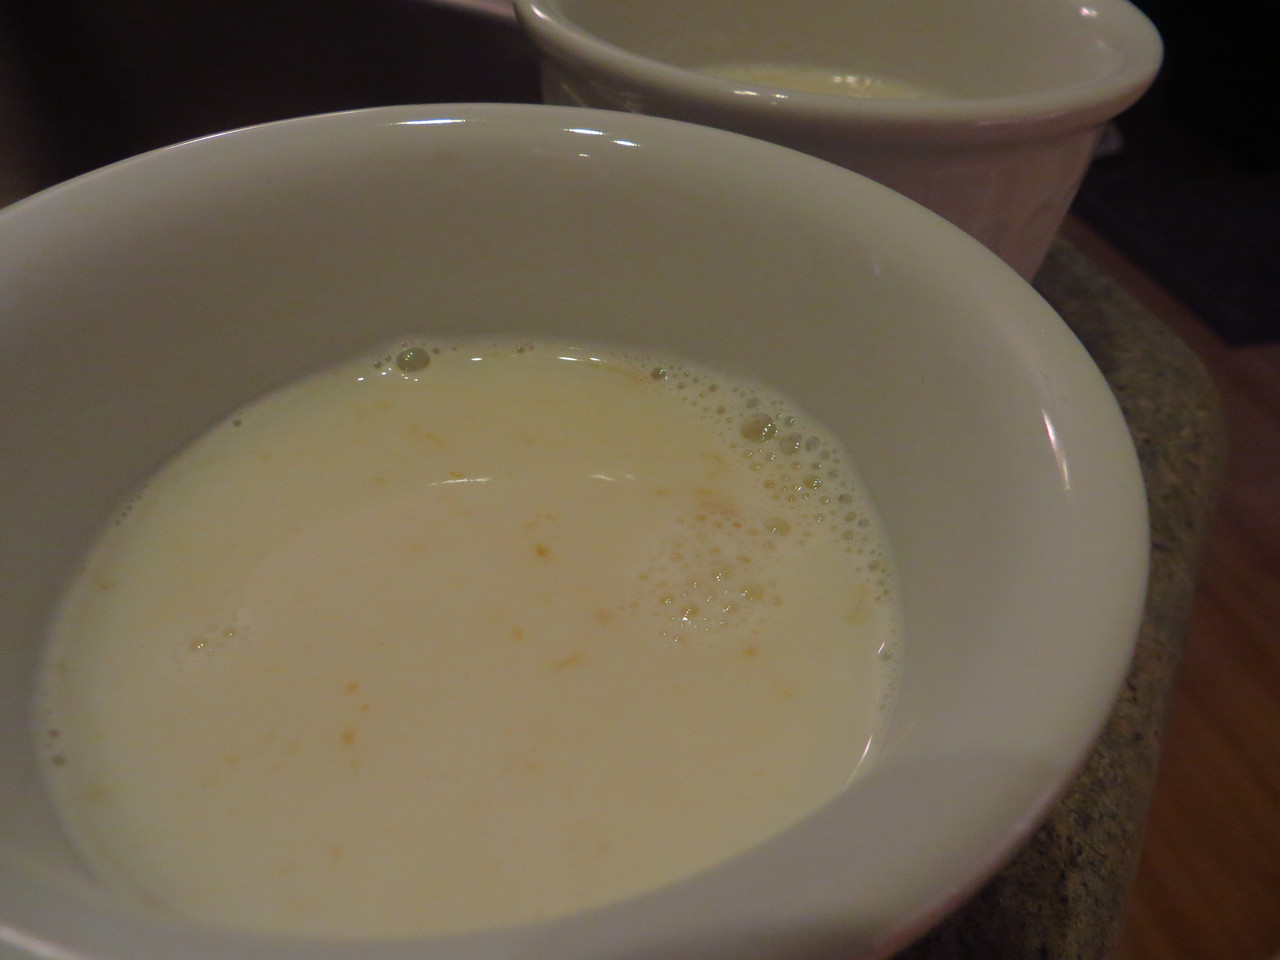
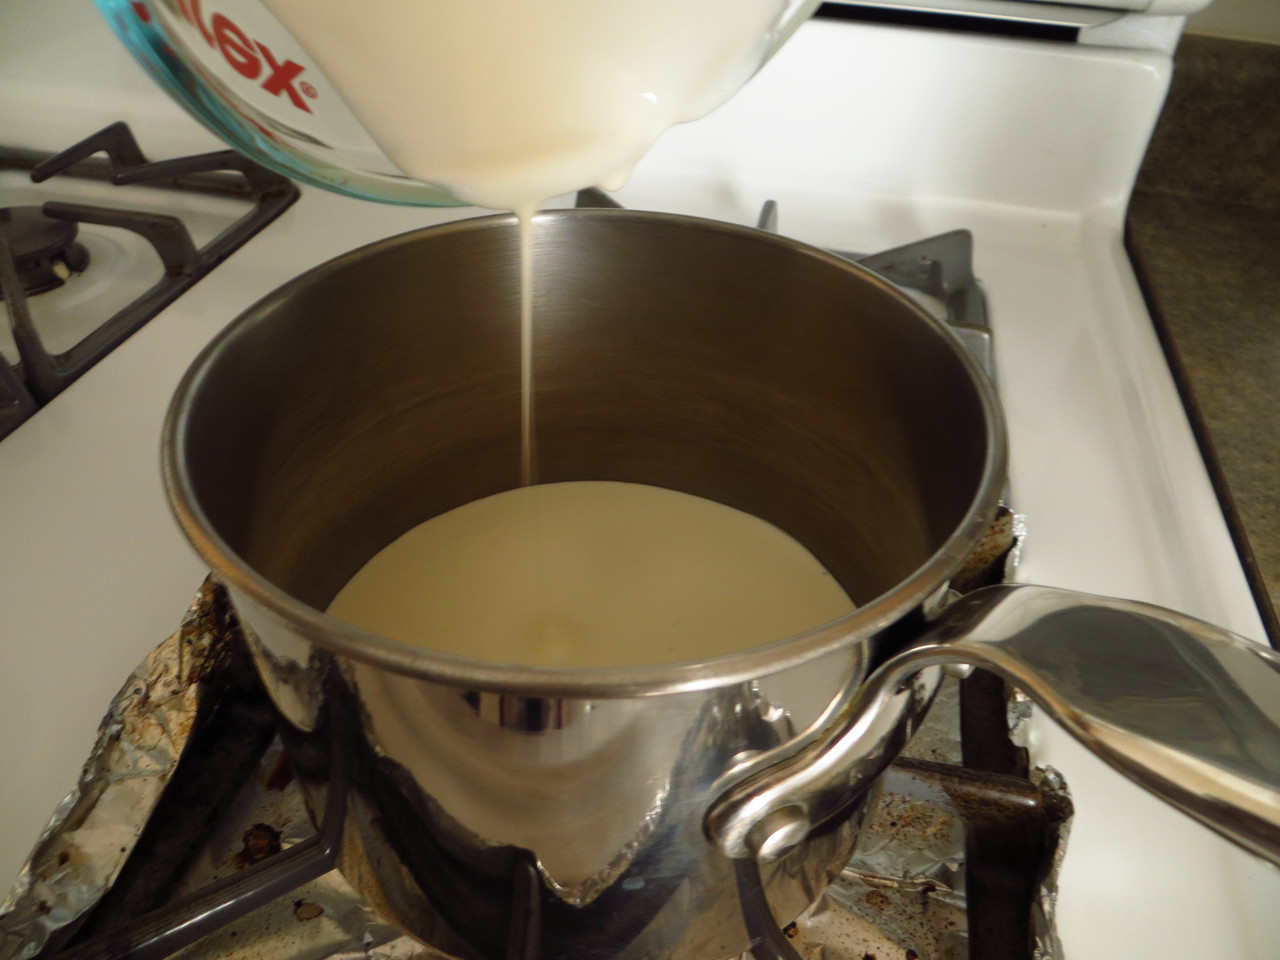
Then, place the cream in a pot and heat it up really slowly. Add the vanilla paste in to infuse the cream. You can use the actual vanilla seeds if you have the vanilla pods. Stir gently and wait until it’s hot – but not boiling over.
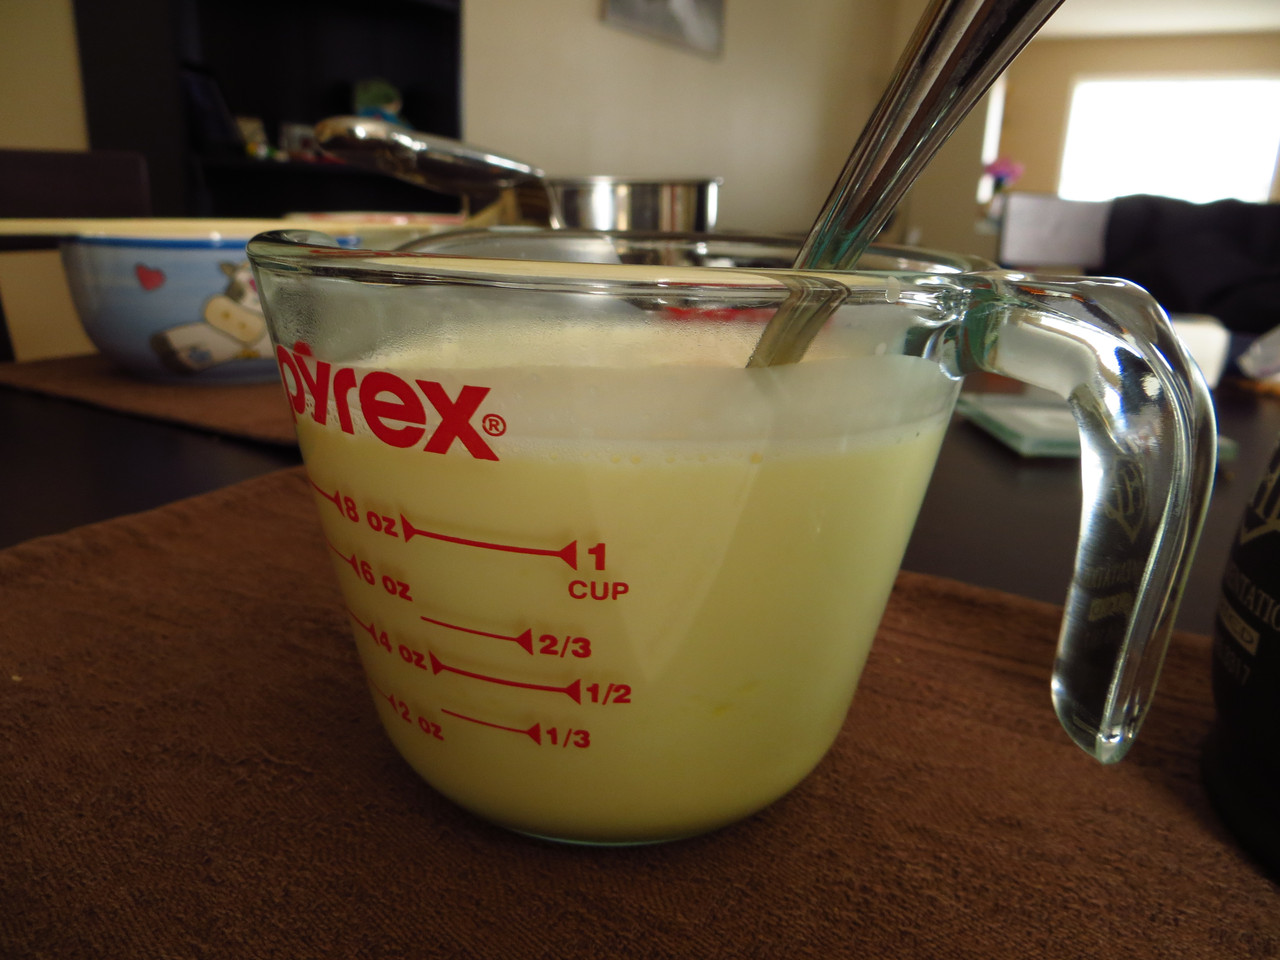
Next, in another bowl, cream the 2 egg yolks together with sugar. Then, slowly combine the cream mixture into the egg yolk mixture. Be sure to go slow so you don’t cook the eggs!
Now, pour the mixture through the strainer with the cheese cloth so it’s strained into the ramekins! Use a spoon to take out all the air bubbles that you see on top! Then, place this in the oven and pour some boiling water into the deep dish that holds the ramekins – making sure you fill up to at least half way up the ramekin dish itself to gently cook the creme brulee.

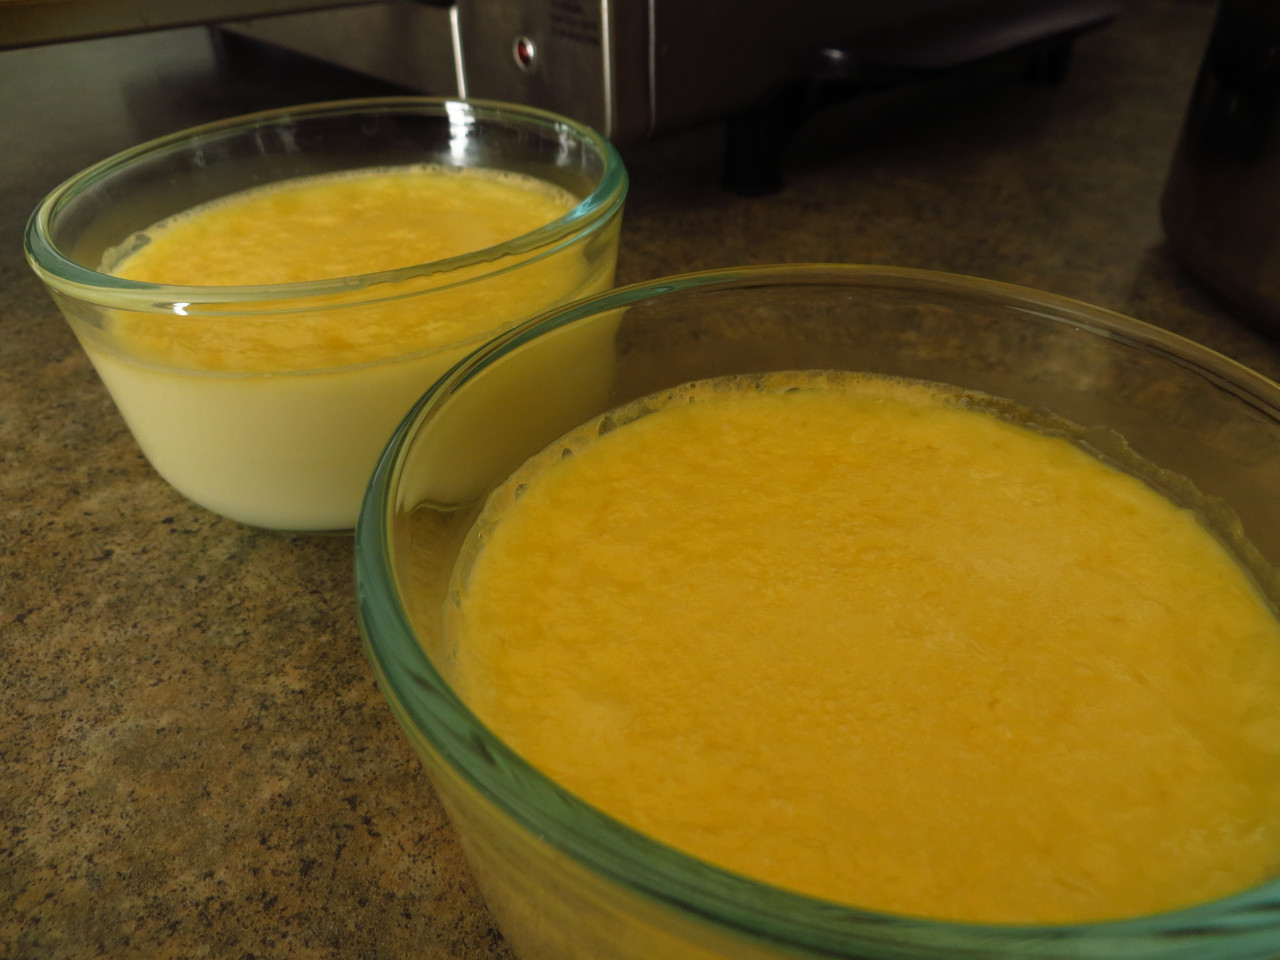
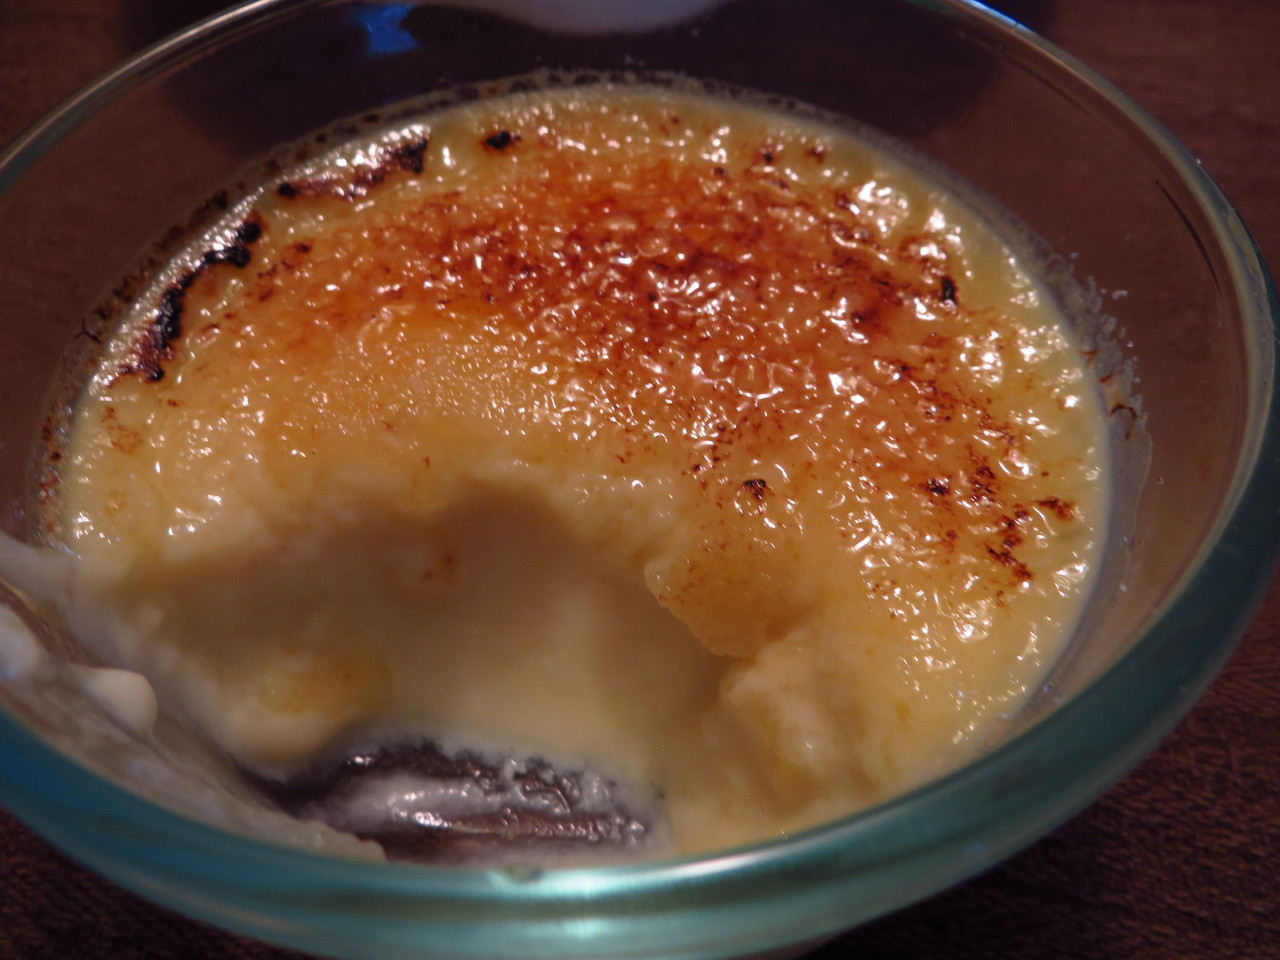
Now, bake for about 20-25 minutes in the oven. I set my oven too high, and caused the egg to cook on the top – but it still tasted great! 🙂
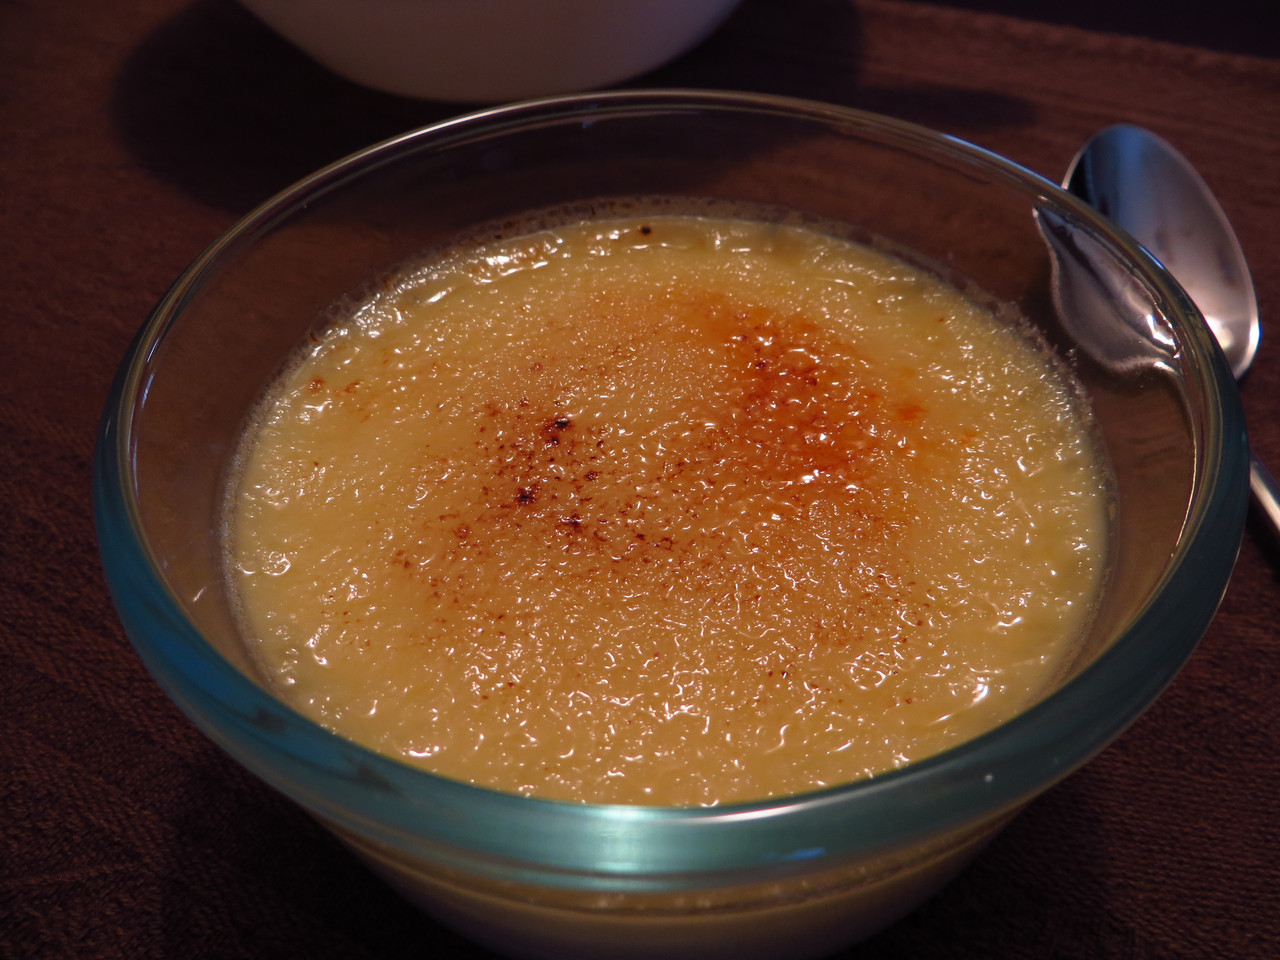
Let the creme brulee chill completely, and then place into the fridge for at least 3 hours. When you’re ready to enjoy, sprinkle a layer of sugar on top and use a torch to burn the sugar!! It’s done and you’re ready to eat!
Sit down anywhere, anytime to enjoy this delicious and somewhat refreshing dessert as it’s creamy and decadent with a hint of sweetness!