Blue Dragon Tomato & Sweet Chilli Cooking Sauce

I haven’t cooked with my Blue Dragon cooking sauces in awhile now, and today I just felt like trying their Tomato and Sweet Chilli Cooking Sauce and I’ve got to say, it ranks really high in taste for me!

I made a simple dinner with this sauce so I first sauteed my onions with the chicken slices, until the chicken is almost completely cooked.

Once the chicken is almost done, I add the sauce, and mix it completely. Then, I add the asparagus (or any kind of vegetable). I just had fresh asparagus from the market, so it’s what I used for this day! ๐Ÿ™‚

Now, I just let the entire contraction simmer away in the wok until the asparagus is at tender crisp – and I claim it done! It’s a delicious dish of food with tons of sauce to serve over rice – that’s how I had it!

Overall, I love this sauce and it’s a great balance of the spice and sweetness from the tomato. I’m sure I’ll buy this again as I’m sure it’s going to be great with noodles too!

Homemade Pizza

I just made a bunch of ham and what I really wanted was a ham pizza. So, instead of going to the grocery store and purchasing a premade crust, I figured I would try my hand at making one.

Ingredients: (makes 1 medium or 2 small)
2 cups of All Purpose Flour
2 cups of water
1 package of yeast (traditional)
1 tsp salt
1 tsp sugar

The first thing you need to do is activate your yeast. I poured my yeast into a little bowl and put 1/4 cup of warm water to dissolve the yeast. Then, I added my teaspoon of sugar. Just leave it for about 10 minutes and it should have expanded and almost doubled in size.

From here, I mix together the flour and salt and the yeast mixture. Then I slowly combine with the rest of the water in stages. I keep mixing until a ball of dough forms. My dough ball here was much more sticky than it probably should have been, but I left it anyway. Just knead it for a few minutes and when you’re ready, let it sit to rise and rest. I put saran wrap on top and left it for about 45 minutes.

After the ball of dough has doubled in size, you can knead it out on a floured surface to the crust shape you like. I didn’t use a pizza tray or anything as I like it kind of rustic, so I just rolled out a thick crust of a random shape on my silicon mat.

After I got my crust ready, I now preheat my oven to 425F and I start decorating my pizza with toppings. I do this rather gently as I’m probably letting it rise again for the second time as I wanted my crust more bread like.

When your pizza is topped with all the goodies you would like, pop it into the oven for about 25 minutes. It comes out delicious, kind of like a pizza bread! ๐Ÿ™‚ You could have brushed the crust with butter or oil or even egg wash if you like a prettier crust. I just left mine as is.

Now, after the cooking period, take the pizza out of the oven, and slice it if you want – but you’re ready to enjoy a simple and delicious home made pizza!

Blue Dragon – Thai Red Curry Paste

I really love products out there that helps me make meals that are quick and delicious! I got to try this new paste from Blue Dragon called Thai Red Curry Paste that comes in a convenient jar.

Here’s my little recipe for my meal:
Ingredients: (serves 2 large portions)
– 2 carrots sliced
– 2 stalks of celery
– 1 small onion
– 4 to 5 white mushrooms
– 4 pieces of chicken thighs
– 1/2 jar of Blue Dragon Thai Red Curry Paste
– small can of Coconut Milk (165mL)
– Cooked Rice

I wasn’t too sure what to do with this sauce and on the back of it, it kind of states that it’s extremely versatile, so I decided to basically make stir fry with the sauce (stir fry with chicken and vegetables over rice), and it was really simple! I first prep my vegetables by cutting everything into even pieces. I just used whatever I had in the fridge, which was onions, celery, carrots and mushrooms. Of course, wash and cook your rice to start with. The entire meal takes about 30 minutes to make start to finish.

Put the vegetables aside, and slice the chicken thigh. I did do a quick marinade of salt and pepper as I love to add a little something on my meat – always! After it marinates for a few minutes, I heat up a wok and some oil. Then, I add the chicken to the wok and leave it for a few minutes. Once the chicken is about half cooked, I add in the onion and carrot into the wok. Once the chicken is almost cooked through, I add the rest of the vegetables and cook it until it’s a nice tender crisp.

Basically, we’re on the home stretch now – it really is this simple! From here, I add 1/2 a jar of the red curry sauce due to my portion sizes, and a small can of coconut milk. I turn the heat down as I like to cook my coconut milk gently. I stir and let my stir fry simmer away for a few minutes so it can absorb the great flavours.

From here, I added a few more chili flakes as I like my curries a tad spicer. But, we are ready to serve and eat already! Just get a bowl of rice and top it off with the delicious curry!

The finished product is filled with Thai flavours such as ginger, lemon grass, and chilies. It’s absolutely amazing and it tastes great even if you opt out the coconut milk.

Homemade Seitan (Gluten) Puffs – ้ฝ‹้บต็ญ‹

Home Made Seitan Puffs or Braised Gluten

I’ve always loved Seitan and I’ve never learned that term until recently. I was thinking about one of my aunts who makes delicious “sweet and sour gluten” and really wanted to make it myself – so I attempted to figure out how to make the basic seitan first, and then we’ll go from there.

Seitan is a meat alternative, and I guess it’s got proteins in it. Basically, you take flour and knead it until it gets tough – or form the gluten. The more you knead for this recipe, the better. Then, you was away the flour such that you’re left with the gluten (or what they call seitan).

Ingredients:
1 cup bread flour (or gluten flour)
1/2 cup water
1/4 tsp salt

Basic ratio turns out to being 2 parts flour and 1 part water with a pinch of salt. It seems to work really well for this! Combine the 2 ingredients until they form a dough, and knead, and knead. This will be helpful if you have a machine that can do it for you! I used bread flour as I couldn’t find gluten flour anywhere (I wanted a Chinese brand, but basically the more gluten your flour has, the better!). If you use All Purpose Flour, this will work too, but you’ll be washing out more than half of the dough’s size as not as much gluten is formed.

After extensive kneading, the dough should be a tad tough with a lot of give. If you poke your finger at it, it should bounce back – almost looking as though you didn’t poke it at all. At this point, I let it sit as I set up the sink tap to a comfortable warm temperature.

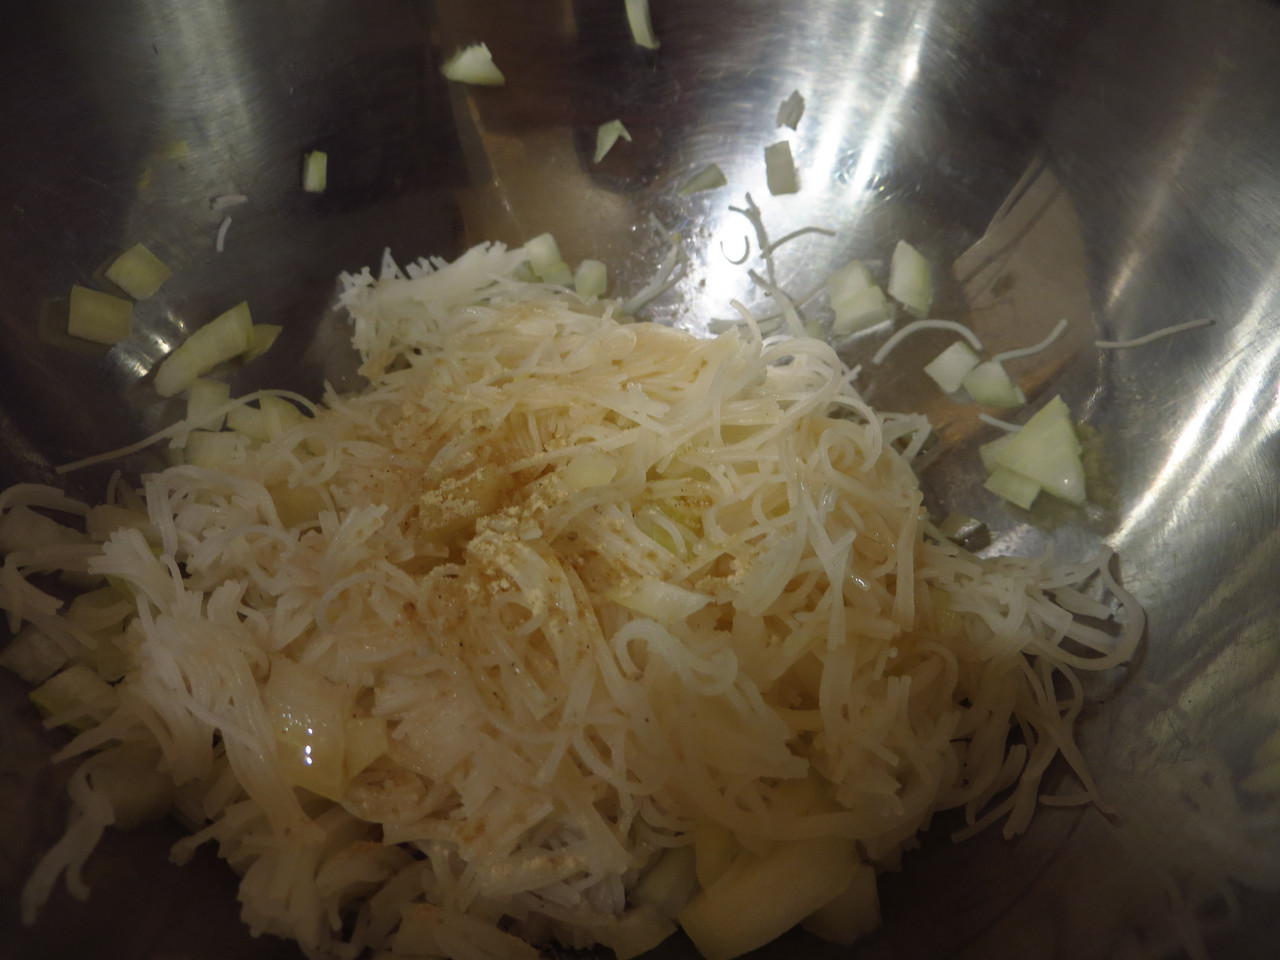
Once the water is at a nice temperature, I just keep washing the dough, and the flour will eventually wash out. You’ll be left with something that looks stringy, but it’s holding on together. It’s quite a delicate process, so treat this with care – you don’t want to be breaking it up into part, or you’ll never get it back together!

When you think the water from the dough has started to run clear, or close to it – you’re probably done washing the flour out. For me, as I’ve used the bread flour, I did loose about half the dough, but it’s no big deal. I just went and made another batch! Notice the texture on the left, as it’s really “brain like”…

From here, I chop up the gluten into little pieces as I’m experimenting, I like mini portions. I set up some oil to fry with, and it’s important it’s at a low heat with hot oil. Since it’s made with a lot of water, it can either blow up or cause a lot of splashing if the oil is too hot. I just leave the seitan sitting there as the oil comes up to temperature.

Now, when the oil seems hot (poke a wooden chopstick in the oil, and it starts bubbling around the chopstick), I’m ready to start frying! Ideally, they will puff up and you just keep moving the pieces of gluten so they don’t stick to each other! I pull them out when they’re golden brown.

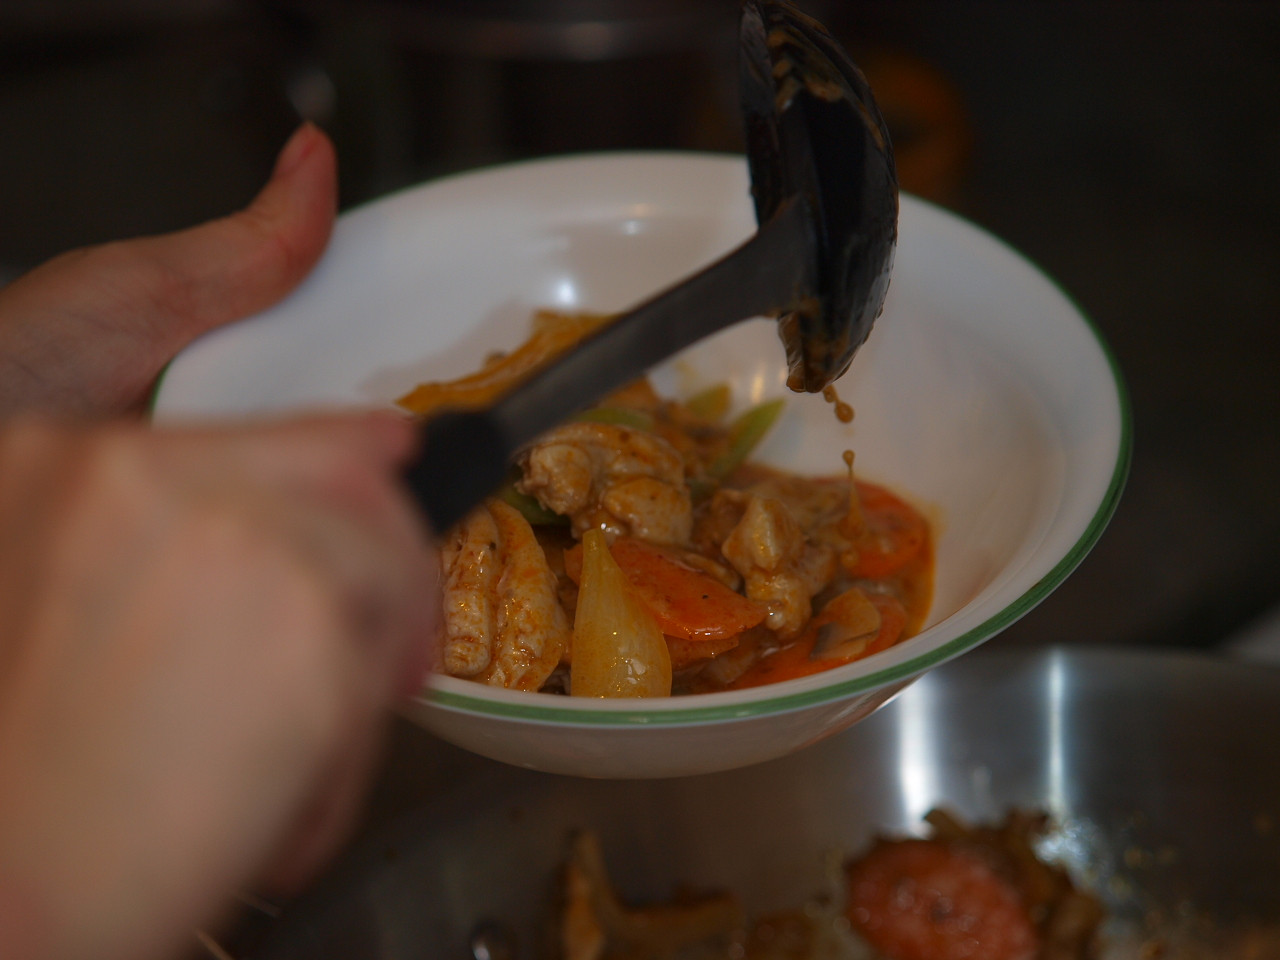
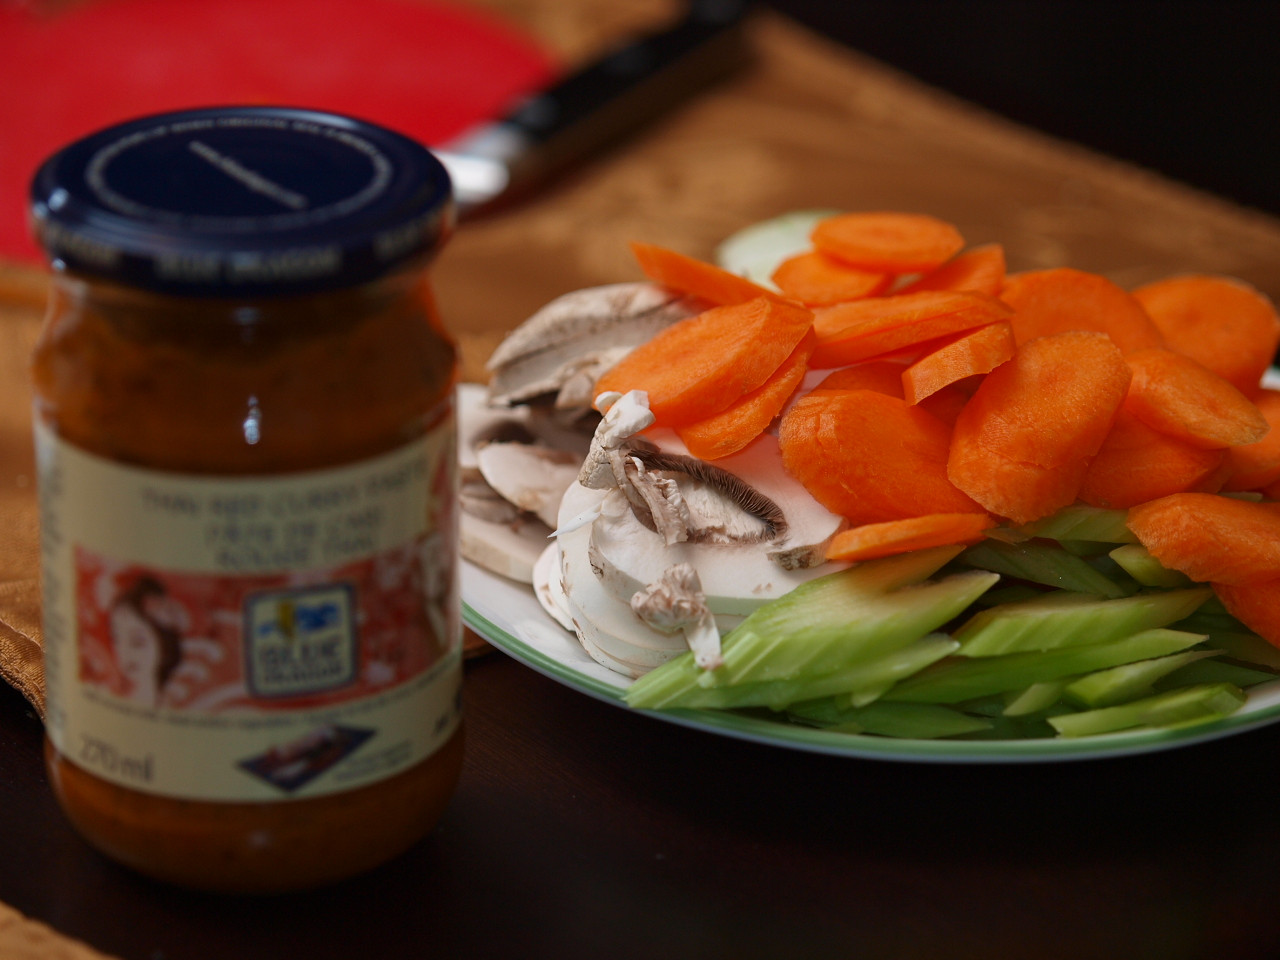
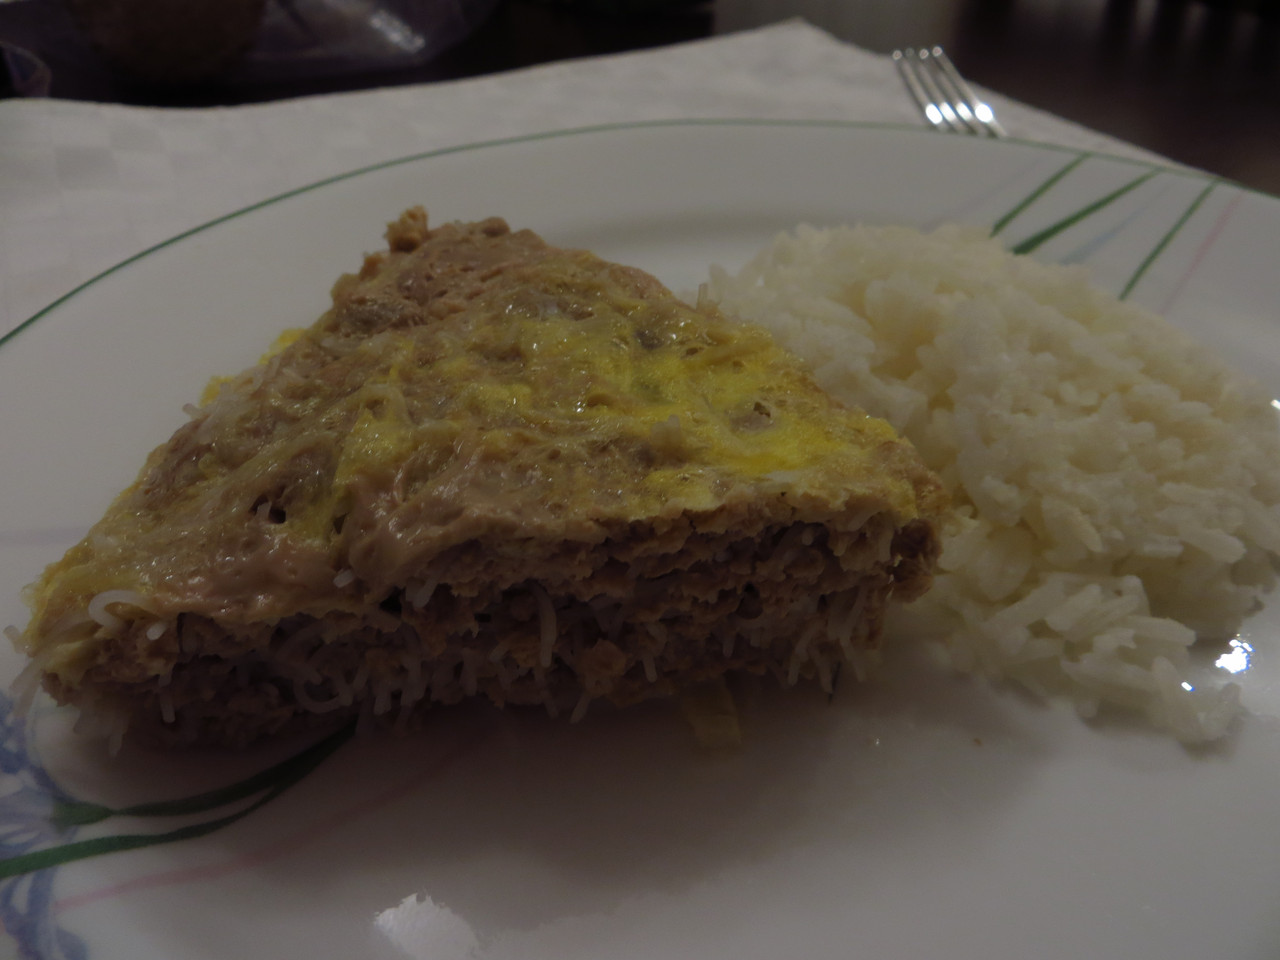
Alright, now we got our seitan puffs, I just make a nice braising liquid. This time, I used a curry and I braise it for a few hours until the flavours get in. Once it’s flavourful, you’re ready to enjoy seitan! You can change up the braising flavours, and like I mentioned, my favourite is the sweet and sour sauce, or ketchup one… so I will have to experiement with that!

I actually braised mine in a slow cooker and I must admit, I did over braise it such that it was a little too mushy!! So, keep an eye on it if you’re doing it for the first time (unlike me!)

Homemade Cha Trung – Vietnamese Steamed Pork Meatloaf with Egg

I was at a Vietnamese restaurant the other day, and all I really wanted was something I haven’t had in years, and it was Cha Trung, which is essentially pork meatloaf that is steamed cooked, with an egg on top. I figured it wouldn’t be hard to make, so I attempted my version of it – a simple one, but a good foundation to add all sorts of yummy ingredients to it!

Ingredients:
1 lb ground pork
1/4 to 1/2 cup chopped vermicelli noodles
2 large eggs, 1 eggs in the meatloaf, and 1 for the top
1/2 tsp salt
1 tsp Nuoc Mam (Vietnamese Fish Sauce)
1/2 tsp white pepper

Things that you can add are:
1/3 cup dry Nam Meo (Tree Ear Fungus), soaked
shredded carrots

The first thing, set up a steamer and bring the water to a boil. Then, chop up the the vermicelli noodles after it has softened. You can either soak it until soft, or cook it in salted boiling water until soft. Then, mix it with chopped onions.

Afterwards, add the meat in to the mixture and season… and then mix well so it is evenly seasoned. When it is mixed well, mix a egg that has been beaten into the meatloaf, and continue to mix.

When the meatloaf has combined thoroughly, spray some vegetable oil, or grease a steam proof container and pat your meatloaf into the plate. From here, beat the other egg and just pour it on top. If you like more eggs on top, then put a second one, to make a thicker egg cover. Then, cover the meatloaf with plastic wrap.

Steam the meatloaf for about 25-35 minutes depending on how thick the patty is. When it’s ready, be careful taking it out as it’s extremely hot. I cut it into wedges and I serve it with either rice or rice vermicelli and I pour Ngoc Cham! Of course, you can add more to the plate, but this is a simple meal that doesn’t take much time to prepare and when it cooks, it’s pretty much “set it and go” – just like cooking the rice in a rice cooker!

I’ve made this a few times now as it’s so easy to make and it feeds a lot for a small cost! The thing I love about this, I can add all sorts of things into the meatloaf, and it tastes amazing!