Homemade Hot Dou Fu Hua – 豆腐花

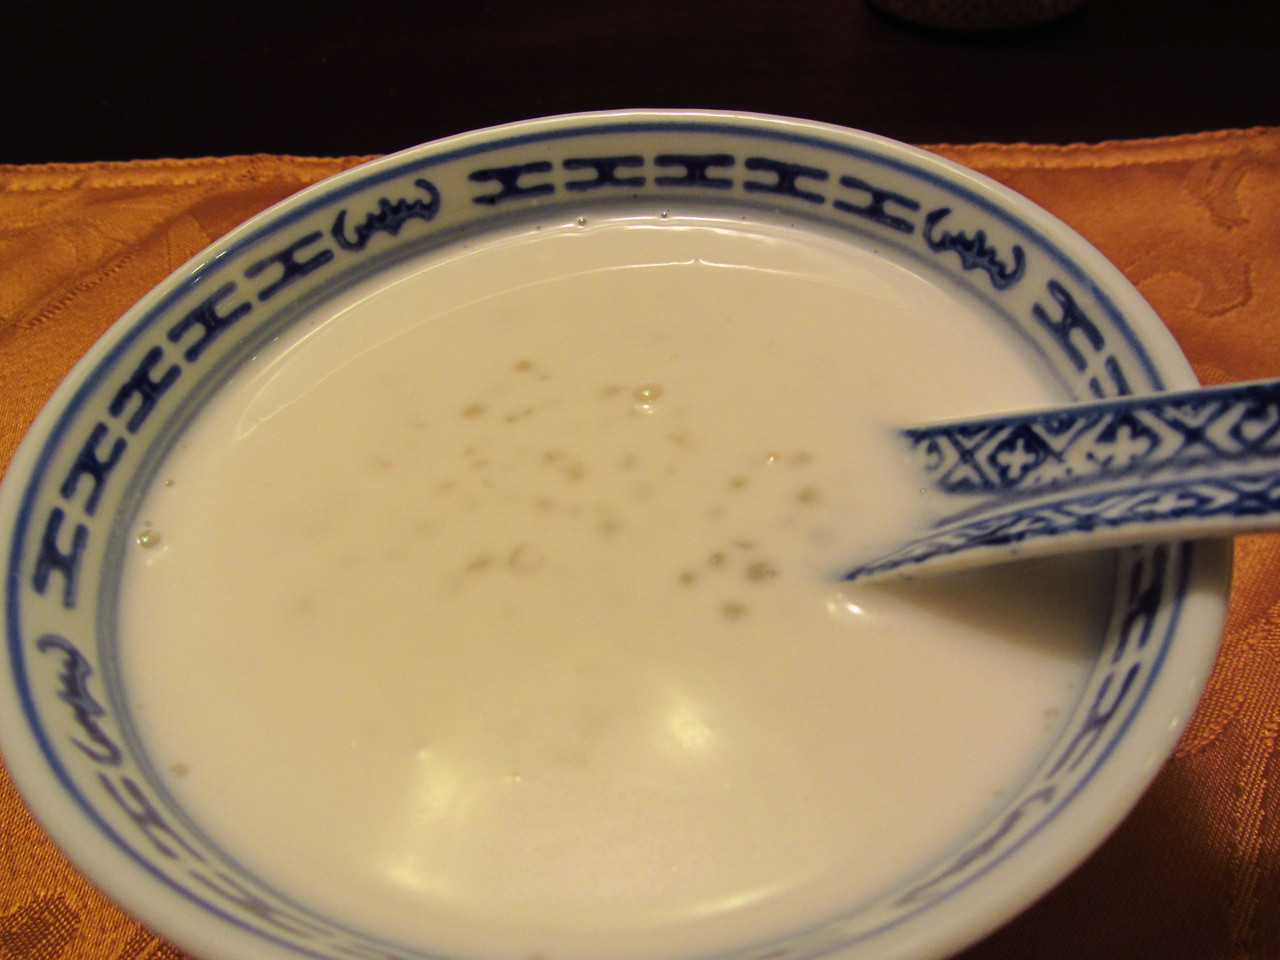
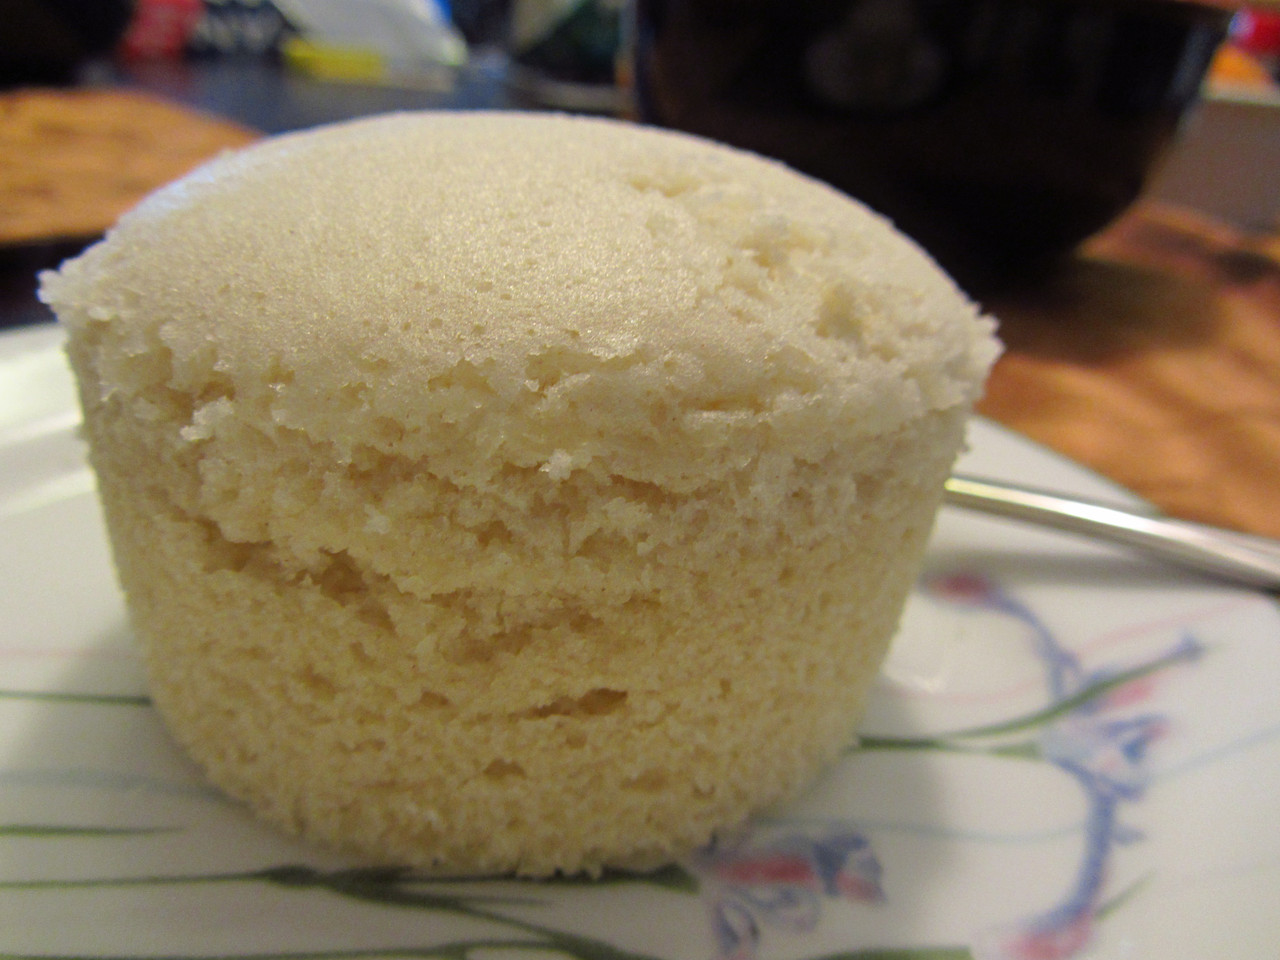
Home Made Hot Chinese Tofu Pudding

I was craving the Dau Fu Fa that you can get when you go for dim sum, in that large bamboo container with smooth, soft texture… and served with a ginger syrup. So, I tried to make it at home and I was really happy with the results!

Ingredients:
500mL unsweetened soy milk
1/2 tbsp cornstarch
1/4 tsp gypsum powder
30mL Cold Water

First off, it’s VERY important that you find soy milk at the store with nothing besides water and soy milk. I’ve tried this recipe a few times with soy milk with just 1 more ingredient, and it didn’t set at all! I used Superior Tofu – Fresh Soy Milk. Another option is to make the soy milk yourself at home – which I will eventually do and post.

In a pot, boil the soy milk – but watch it, as soy milk boils over really quickly. You don’t need to over boil it, just as long as big bubbles are forming, it’s definitely hot enough!

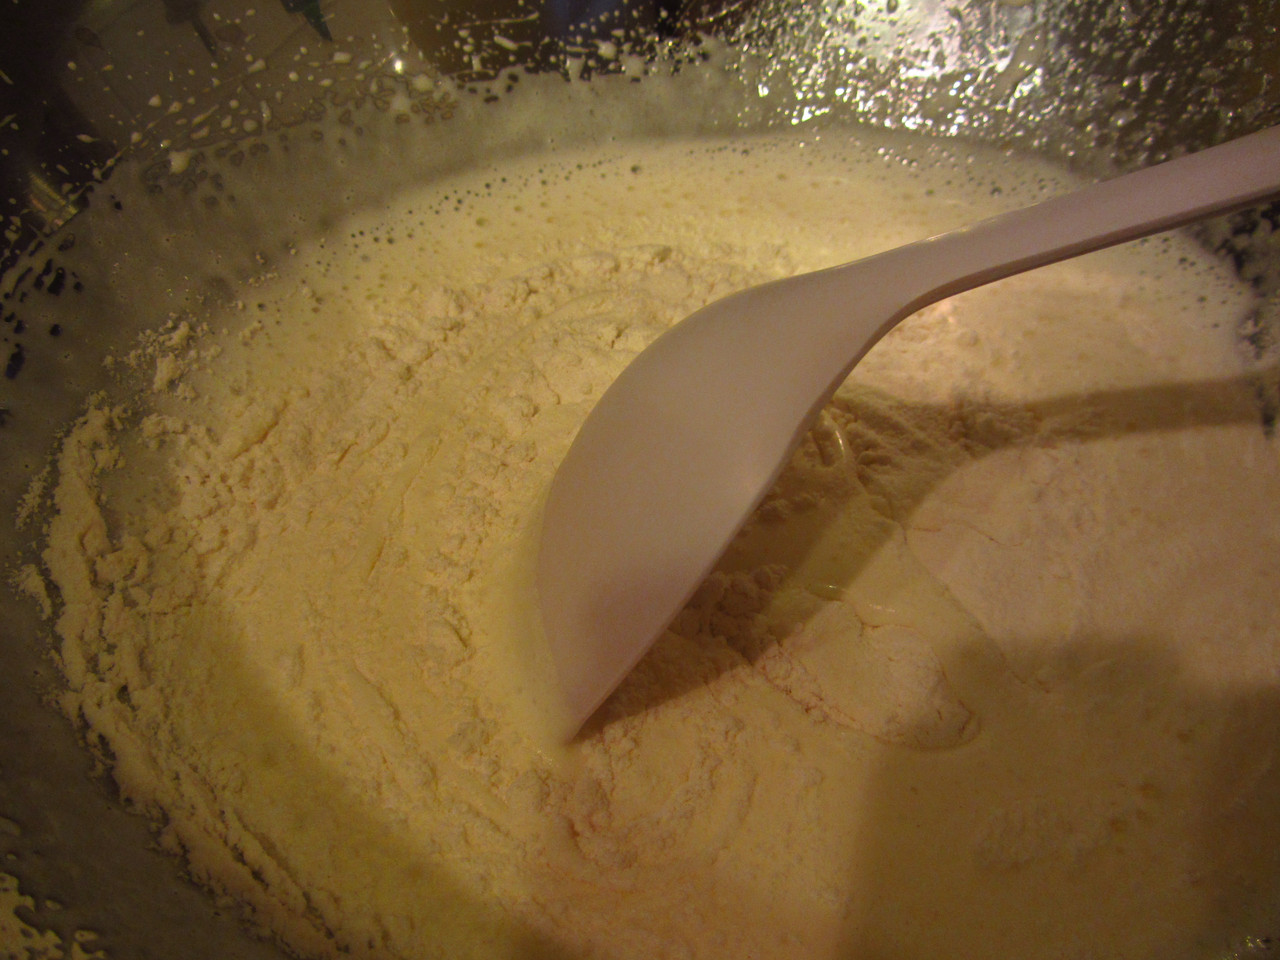
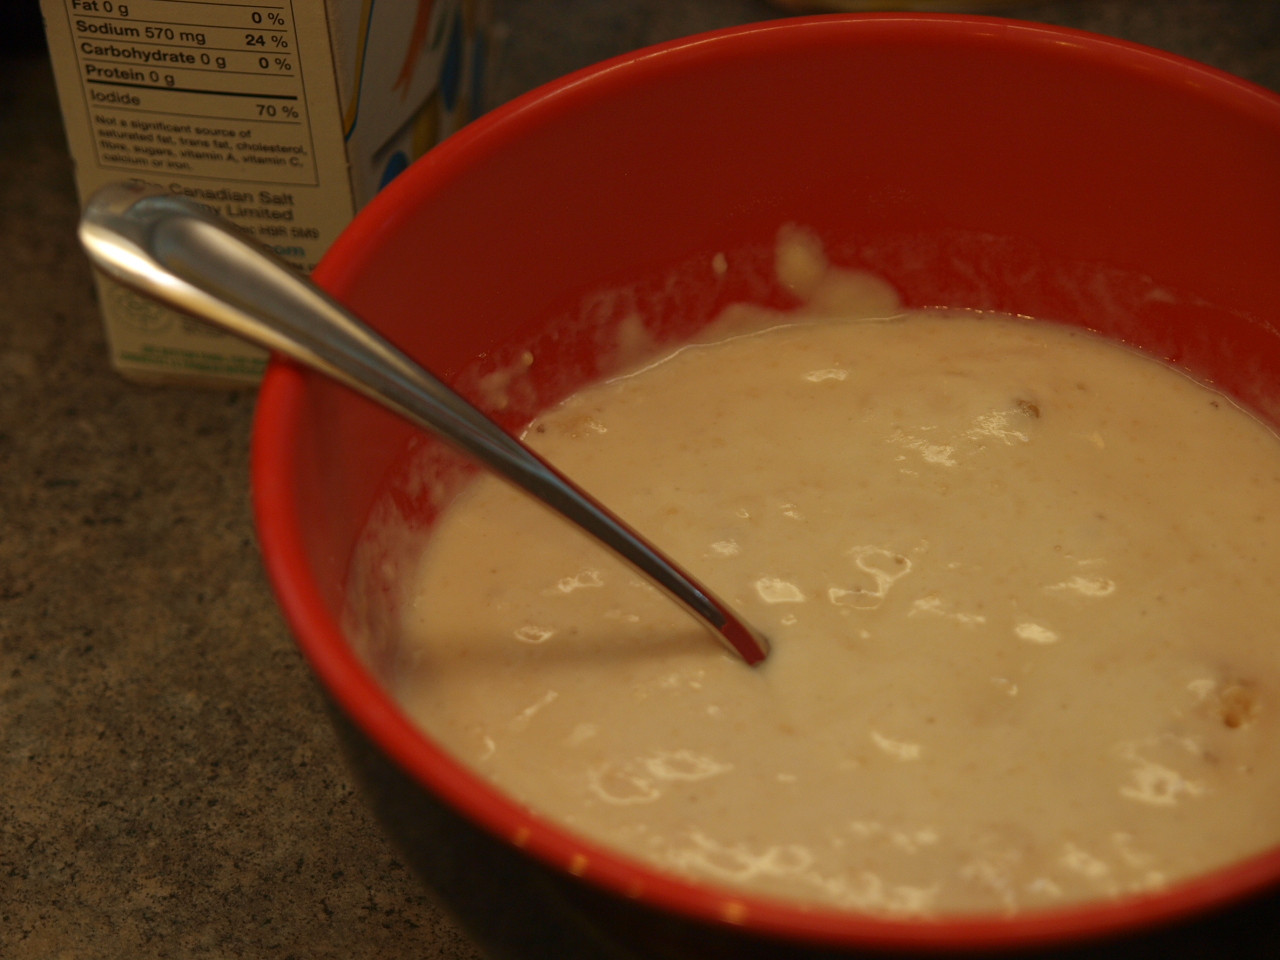
In another bowl, combine the gypsum powder with cornstarch, and dissolve it in the cold water.

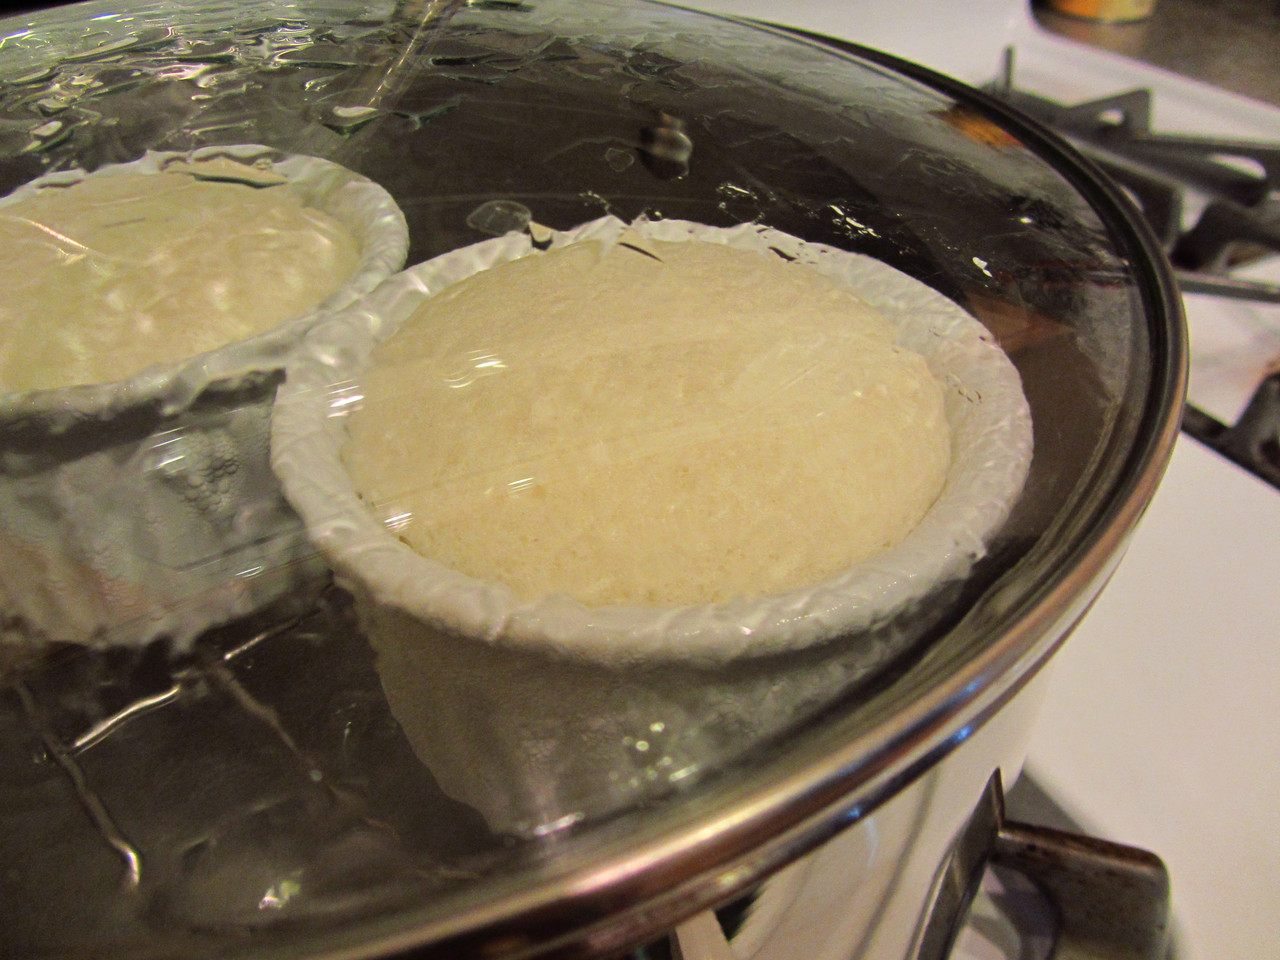
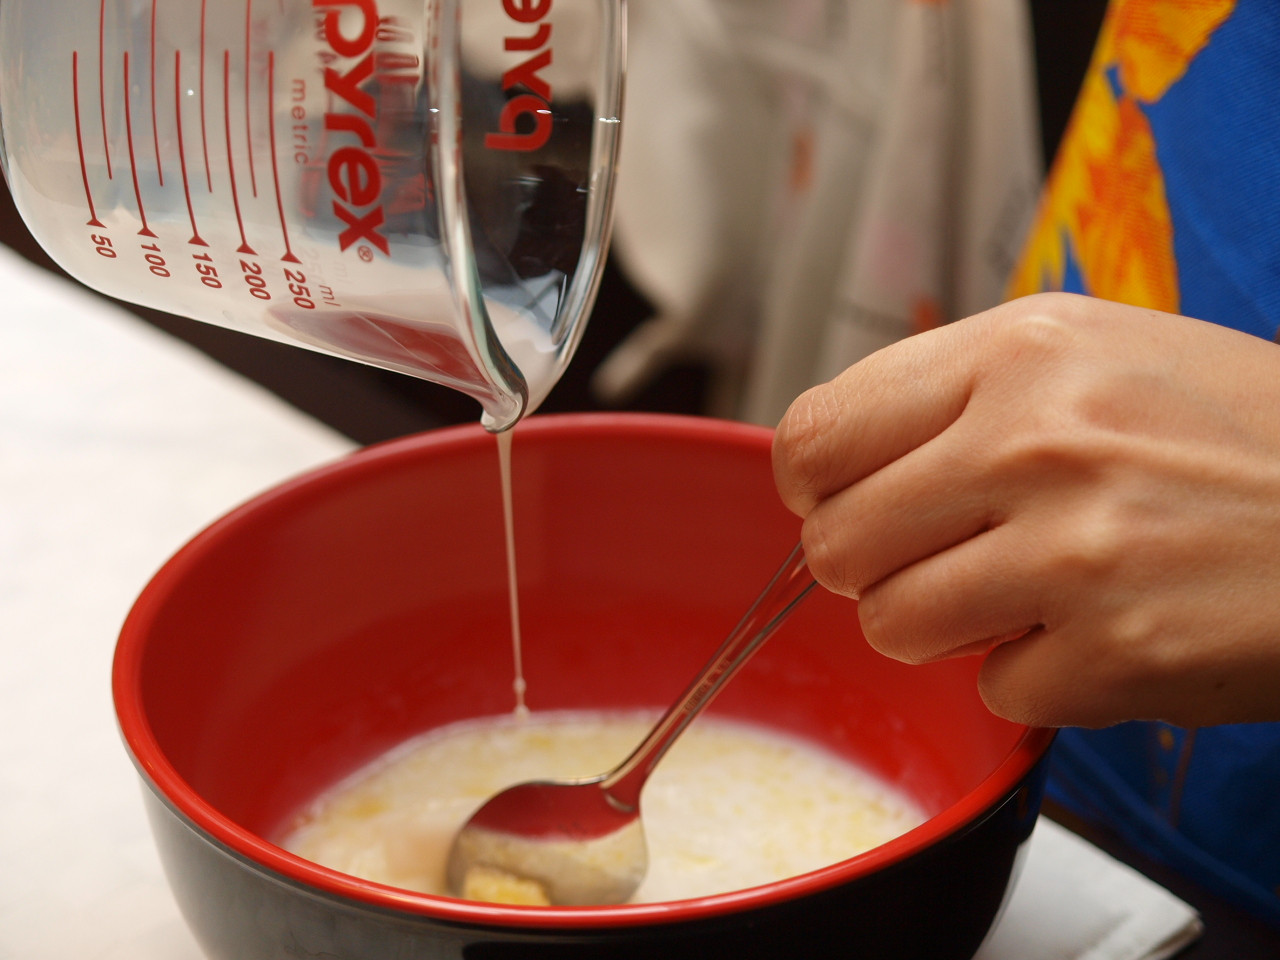
When you’re all ready to go, set a large clean bowl on the table. This is where your dessert will sit and set. Hold the hot pot of hot soy milk in one hand, and the setting solution in the other. Pour both solutions into this big bowl at the same time so it mixes together while pouring. When finished, put a towel on top and leave it alone for an hour for it to set. It’s best to step out of the kitchen, otherwise, you may be tempted to check up on it, and that can compromise the texture. If you haven’t made the syrup yet, now is a good time to make it by boiling some water with rock sugar and ginger. Taste and adjust to how you like it!

Recently, I made a simple recipe for Dau Fu Fa using gelatin. If you just want this dessert and served cold, it’s a great recipe! Here’s the recipe for Dou Fu Hua

Homemade Sai Mai Lo – 西米露

Home Made Chinese Coconut Tapioca Dessert Recipe

There’s nothing more refreshing on a hot day, or just a blah day than a bowl of tapioca pudding (or better yet, soup) which is thick, flavourful and creamy!

Ingredients (makes 2 Chinese bowls)
1/4 Tapioca Pearls – 西米 (dried)
1/4 cup rock sugar
1 can coconut milk (165mL)
1/2 can 2% milk or evaporated milk (about 82.5mL)

First, rinse the tapioca pearls off well, it helps with getting rid of the “tapioca starch” sediments, so rinse with cold water. Then, let the pearls sit and soak for a few hours until it has at least doubled or tripled in size. The longer they soak, the less time it takes for them to cook!

I like to rinse the pearls again, before putting them in a pot of boiling water. So, bring some water up to a boil and pour the pearls in there. Don’t step away long if you have to, these pearls do cook up fast! The pearls will become clear or translucent – but pour them through a fine mesh strainer when there is a bit of whiteness still in the centre! Rinse WELL under cold water to stop the cooking process.

Meanwhile, pour the can of coconut milk and half a can (the can the coconut milk was in) of either milk or evaporated milk. Dissolve some brown rock sugar in the milk making sure the milk never comes to a full boil – otherwise, you’ll start getting a film on top when it begins to cool. You can also dissolve the sugar in some boiling water if you’re afraid of the film.

Once the mixture has combined thoroughly, stir in the pearls and you’re ready to enjoy! I like my sai mai lo both hot and cold, and since I can make 2 bowls with this recipe, I normally eat one right away and the other goes into the fridge!

If you don’t really want to make your own, a delicious option would be to get it at T&T Supermarket! They make a really good one, and it comes in a convenient cup, and it’s the same portion size! Their Sai Mai Lo is actually not bad at all!

Homemade Ma Lai Go – 馬拉糕

Home Made Chinese Steamed Sponge Cake

I didn’t know what to make – besides knowing I wanted to make a cake. I’m no good at baking, so I opted for a steamed cake. The first one that came to my mind was the ma lai go which is a common cake that you’d get during dim sum. This is a simple recipe for a small batch, which was all I needed!

Ingredients:
1/2 cup cake flour
1/2 cup of sugar
2 eggs beaten

First you cream the eggs and sugar together until it becomes “thick” and forms kind of “ribbons” from your whisk. This does take a long time, so use an electric beater or have lots of energy! Make sure you get your steamer ready as you need it right away! The steamer and everything has to be hot and ready – or the cake won’t rise and you’ll just get a block of cake.

Once the mixture is creamy, thick and frothy, then you’re ready to add in the flour. Mix the flour in gently until incorporated – do not over mix!

Then, just pour the batter into the container of choice. I used 2 small ramekins, which worked great for my purpose!

Steam for 30 minutes and you’ll know it’s ready when the cake starts pulling away from the sides. You can do the clean toothpick test too just to verify!

Serve hot/warm, and I just pulled my little cake out of the ramekin so you can see the great bubbles.

Homemade Bor Lor Bao – 菠蘿包

Home Made Chinese Pineapple Bun Recipe

Ingredients (makes 4-6 mini buns):
Dough:
1 1/2 cup flour
1/2 tbsp yeast
1/2 tbsp butter
1/4 cup milk
1 egg beaten
pinch of salt
pinch of sugar
oil

Topping:
2 1/2 tbsp sugar
2 tbsp butter
1 egg yolk
1/4 tsp baking soda
1 tbsp milk
1/2 cup flour
1 tbsp baking powder

First, you make the yeast solution for the yeast to activate by mixing the yeast with a pinch of sugar, 1/2 cup of flour and 1/4 cup warm water

Once the solution has become frothy and has doubled in size, you’re ready to start making the dough. Melt butter, then add milk to the butter.

In a large mixing bowl, combine eggs to the flour and then incorporate the milk mixture and yeast mixture. Knead for a few minutes until a ball of dough forms. You may need to add more water or flour depending on the consistancy.

Once the ball of dough is formed, take another mixing bowl and grease the sides. Put some plastic wrap on the top – or a wet tea towel and wait for 2 hours for the dough to rise. In the mean time, you can make the topping as it needs some time to set in the fridge. To make the topping, cream together the butter and sugar until smooth. Then, add in the egg yolk with milk and mix again. Next comes the flour, baking soda and baking powder. Once this comes in, be sure to mix to combine only. Do not over work this mixture. Form into disks and refrigerate.

After you proof the dough, cut it up into the portion size you’d like your pineapple buns to be. Keep in mind they will rise again, so they’ll be bigger than you make them!

Once you got them portioned out, place the topping and place it on the bun with egg wash. Then, let them rise for a second time. You can score diamond markings on the top of the topping or just leave it – as the diamond texture simulates the look of a pineapple.

When you’re ready, bake in a 375F oven for 10-12 minutes when a toothpick can come out clean – then you’re ready to enjoy!

To get the shiny topping which I didn’t do, you can brush the top with some egg wash (beaten egg with some water mixture).

Homemade Sweet Green (Mung) Bean Soup – 绿豆沙

Home Made Lu Dou Sha – Chinese Dessert

I was thinking about a refreshing dessert that is simple to make and refreshing would be the Chinese Mung Bean Soup

Ingredients:
1/2 cup dried green bean
1/4 cup rock sugar
4 cup of water

First thing you have to do is clean and soak the green beans. Keep in mind that the green beans swells up and doubles in size after soaking.

Once you finished soaking the beans – I did mine overnight, but a good rule is to soak at least 4 hours.

Boil the soaked green beans with rock sugar in water. Once the water boils, turn down the heat to a simmer. The green beans will become soft and swell up.

Once the beans started swelling up, basically you’re boiling out the water to the consistency that you like the dessert to be.

We like our dessert to be more on the thicker side, but I must admit – I’ve over done it on mine! I didn’t feel like adding more water to it since the sweetness was perfect, and it wasn’t bad having it thicker either!

This is a dessert where you can enjoy it hot or cold, and it tastes great both ways as well! I found once chilled, it becomes a little bit thicker as well, and less sweet. It’s a refreshing dessert!